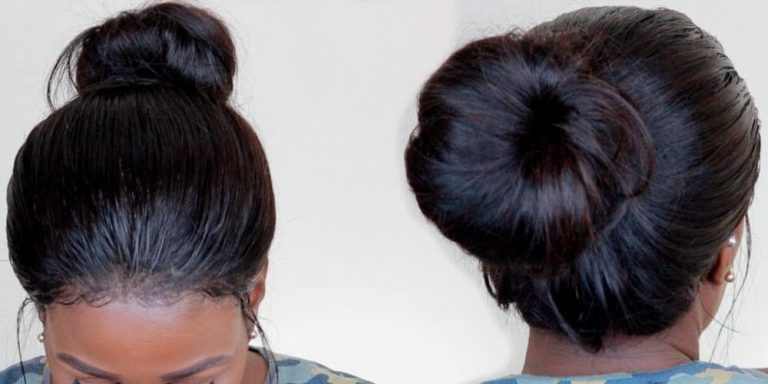
Wigs are trendy nowadays due to their ease of use and several benefits that come with them. People wear them to protect their natural hair from damage, cover up hair insecurities such as hair loss or change up styles. Wigs come in different types example, the 360 frontal wig, which has lace going around the entire perimeter of the wig, meaning you can hold it in a high ponytail and not see the wig cap. In this write-up, we look at how to make a 360 frontal wig.
How to Make a 360 Frontal Wig
You have a choice of either buying a ready-made wig or test your ability to make one from scratch. Many hair and beauty stores sell various excellent and affordable hair, but personalizing something always makes it unique and special.
1. Preparing the Wig Band
To match your scalp color, bleach the frontal knots by applying a peroxide solution mixed in the ratio of 1:1. Turn the wig band to reveal the lace, then apply the mixture using a knife, mimicking the spread of butter on a piece of bread. Do it on both sides and leave it to dry for approximately 40 minutes. When dry, use a shampoo to wash the peroxide, tint the 360 frontal and condition it for a soft and nice texture. Rinse it and move on to the next step.
2. Plucking the Frontal
Plucking is done when the hair is still wet or dump, i.e., immediately after conditioning, or you can use a spray bottle to dampen it if dry. Place the hair on a mannequin, hold it up in a bun and pluck just behind the hairline, the sides, and back too. Plucking the hairline should be avoided as it may create a bald patch that will ruin the whole idea of mimicking a natural hairline.
3. Constructing the 360 Frontal Wig
Various equipment is needed to make the wig. They include curved and straight needles, black thread, T pins, hairpins, white pencil, wig combs, elastic band, and a white cap mesh. Place the wig cap on the mannequin for stability and support, then place the band onto the cup, adjust it to the level of your ears and pin it down. Do the same to the entire headband to hold the cap in place. Identify where the lace and hair meet, then stitch the band to the cap. When the 360 frontal is firm, you can sew in the hair starting from the back as you stitch from one end to another, fold the hair weft, sew it down and move to the other side of the head. You should follow a semi-circle till you’re done.
Continue till you reach the seam of the frontal and wig cap and sew tracks, ensuring very tiny gaps are visible between them. Cut off the excess wig cap and add wig combs.
Installation
Ensure your hair is flat or in cornrows, then put on the wig. Following your natural hairline, trim off the lace at the front, secure it and style it as you wish. By following all the above steps, you will have a 360 frontal wig of your choice and preference.
Conclusion
A 360 frontal wig is easy to make and customize according to your needs, such as length and color. It is versatile and allows for a variety of hairstyles since it resembles your scalp all around. Thus, the frontal price is high than other wigs, and if your budget doesn’t allow you to get a ready-made wig, the steps above will guide you on creating one.